How to create an animated GIF using GIMP software
Posted on 08 September 2015 by Admin
1. Find an image
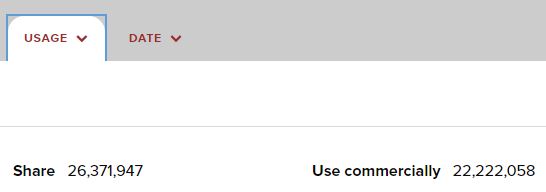
Before making our GIF, we need to make sure the content we are animating is copyright-free. Using search services such as DigitalNZ, the Digital Public Library of America, Europeana, and Trove, are easy ways to access copyright-free photographs, videos, and huge range of other material. These services will also allow you to search by usage, so you know that you are only returning results which can be changed and edited.
For example, on digitalnz.org, click the 'Usage' tab, and then click 'Use Commercially' to return remixable results:
2. Download your image
Once you've found a reusable image you'd like to work with, click through to the collection it is part of and download your selected image, then save it to your desktop.
NOTE: Take note of the attribution information too. When reposting or sharing our GIF we must include the correct attribution to the source material
3. Edit your image
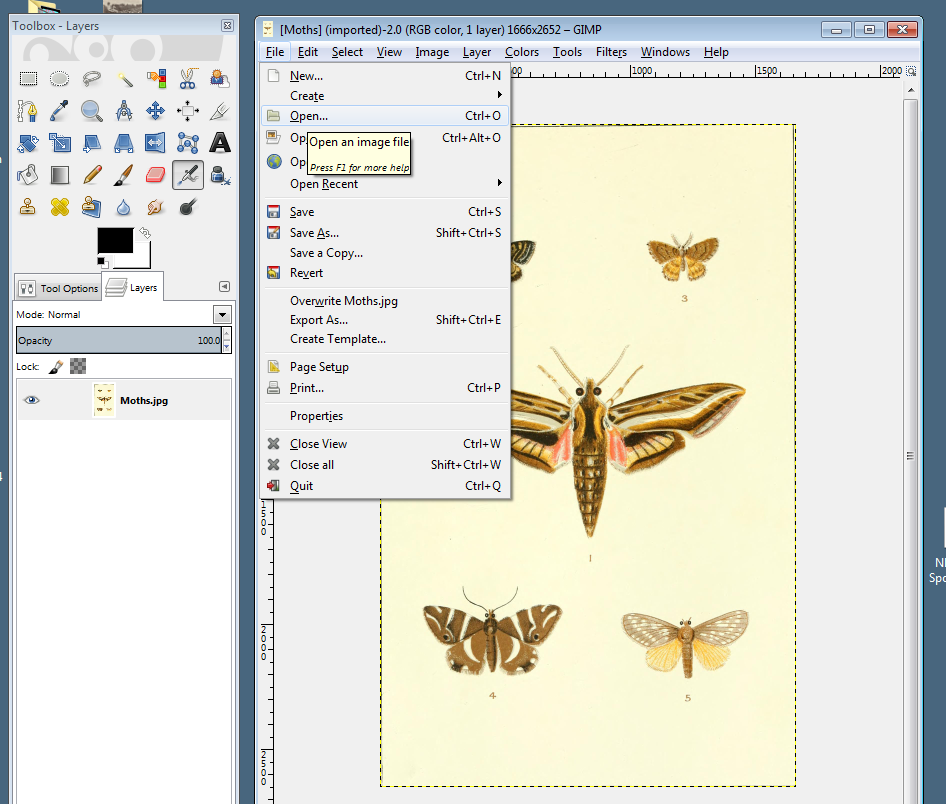
Open up GIMP, and open your image from the menu under File.
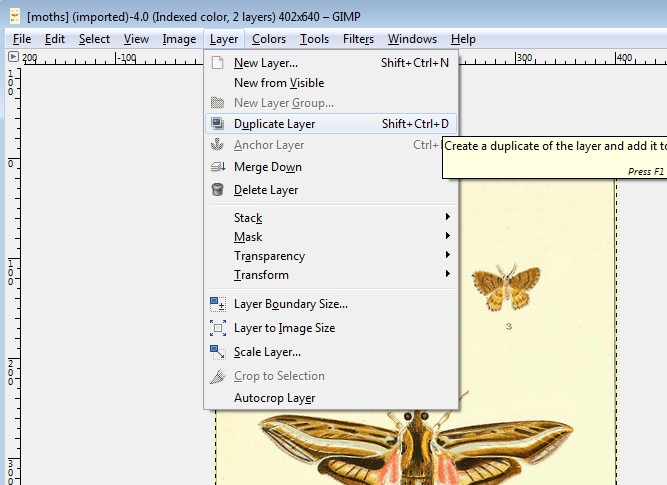
Create a duplicate layer from the menu under Layer.
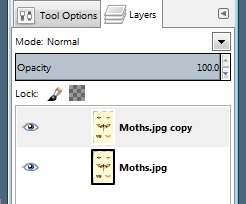
You should now have two layers. Your toolbox should look like so:
Select the Free Select Tool (lasso) from the toolbox.
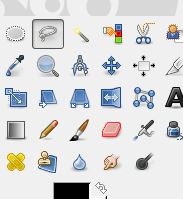
Select the area you want to animate, making sure the ends join.
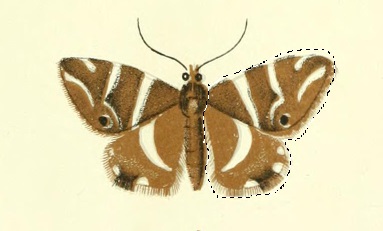
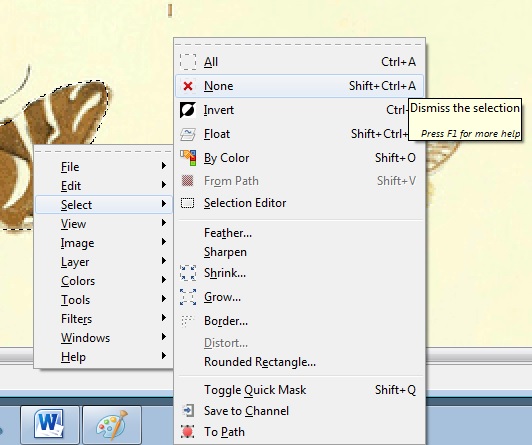
Copy the selection using Ctrl+C. Unselect the area by right-clicking and selecting None from the Select menu.
Using the colour picker tool to get match the background colour or use the clone stamp tool paint over the area you want to change.
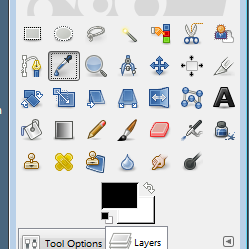
If you are using the colour from your colour picker, select the brush tool:
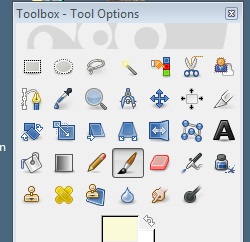
And colour over your selected area:
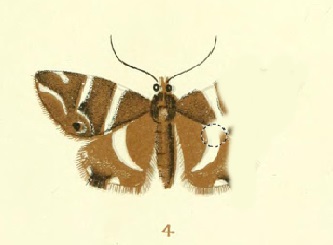
Now paste the copied area onto your layer using CRTL+V.
Choose the Perspective tool:
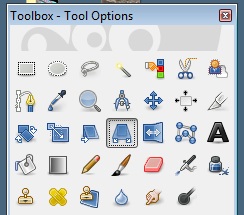
Slightly adjust the image to distort it and select Transform:
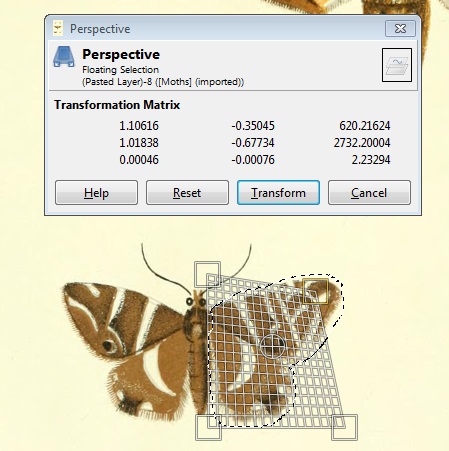
Right click and select Layer, then click Anchor Layer.
4. Animate your image
Repeat above steps for as many elements as you like. View the animation by selecting filters from the menu, then Animation and then Playback. Voila! Here is your GIF.
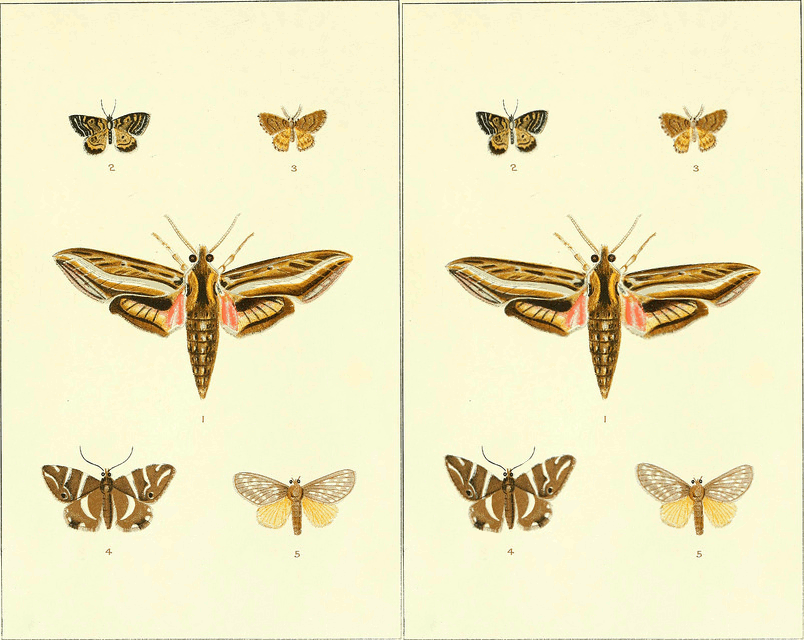
Source material: Internet Archive, page 716 of "Transactions and proceedings of the New Zealand Institute" (1904), no known copyright restrictions.
5. Save your image
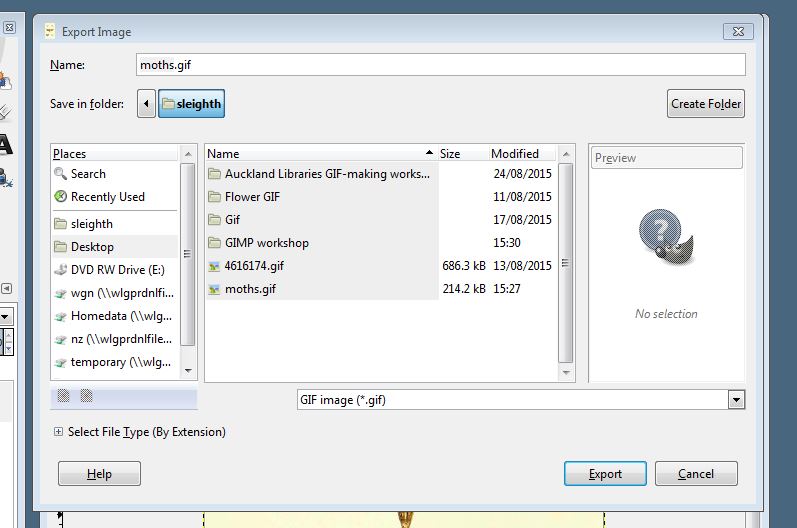
Export and save your file as a Gif image.
We've turned off comments here, but we'd still love to know your thoughts. Visit us on our Facebook Page @digitalnz or on Twitter @DigitalNZ to share any ideas or musings with the DigitalNZ team.