How to make a simple animated GIF with free software
Posted on 07 September 2015 by Thomasin
1. FIND AN IMAGE
Before making our GIF, we need to make sure the content we are animating is copyright-free. Using search services such as DigitalNZ, the Digital Public Library of America, Europeana, and Trove, are easy ways to access copyright-free photographs, videos, and huge range of other material. These services will also allow you to search by usage, so you know that you are only returning results which can be changed and edited.
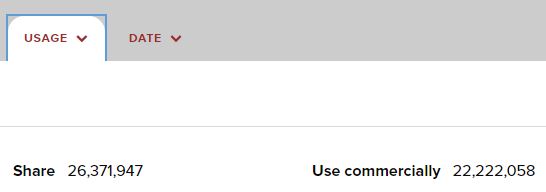
For example, on digitalnz.org, click the 'Usage' tab, and then click 'Use commercially' to return remixable results:
2. DOWNLOAD YOUR IMAGE
Once you've found a reusable image you'd like to work with, click through to the collection it is part of and download your selected image. Save it to your desktop. For example, this image from Auckland Libraries:
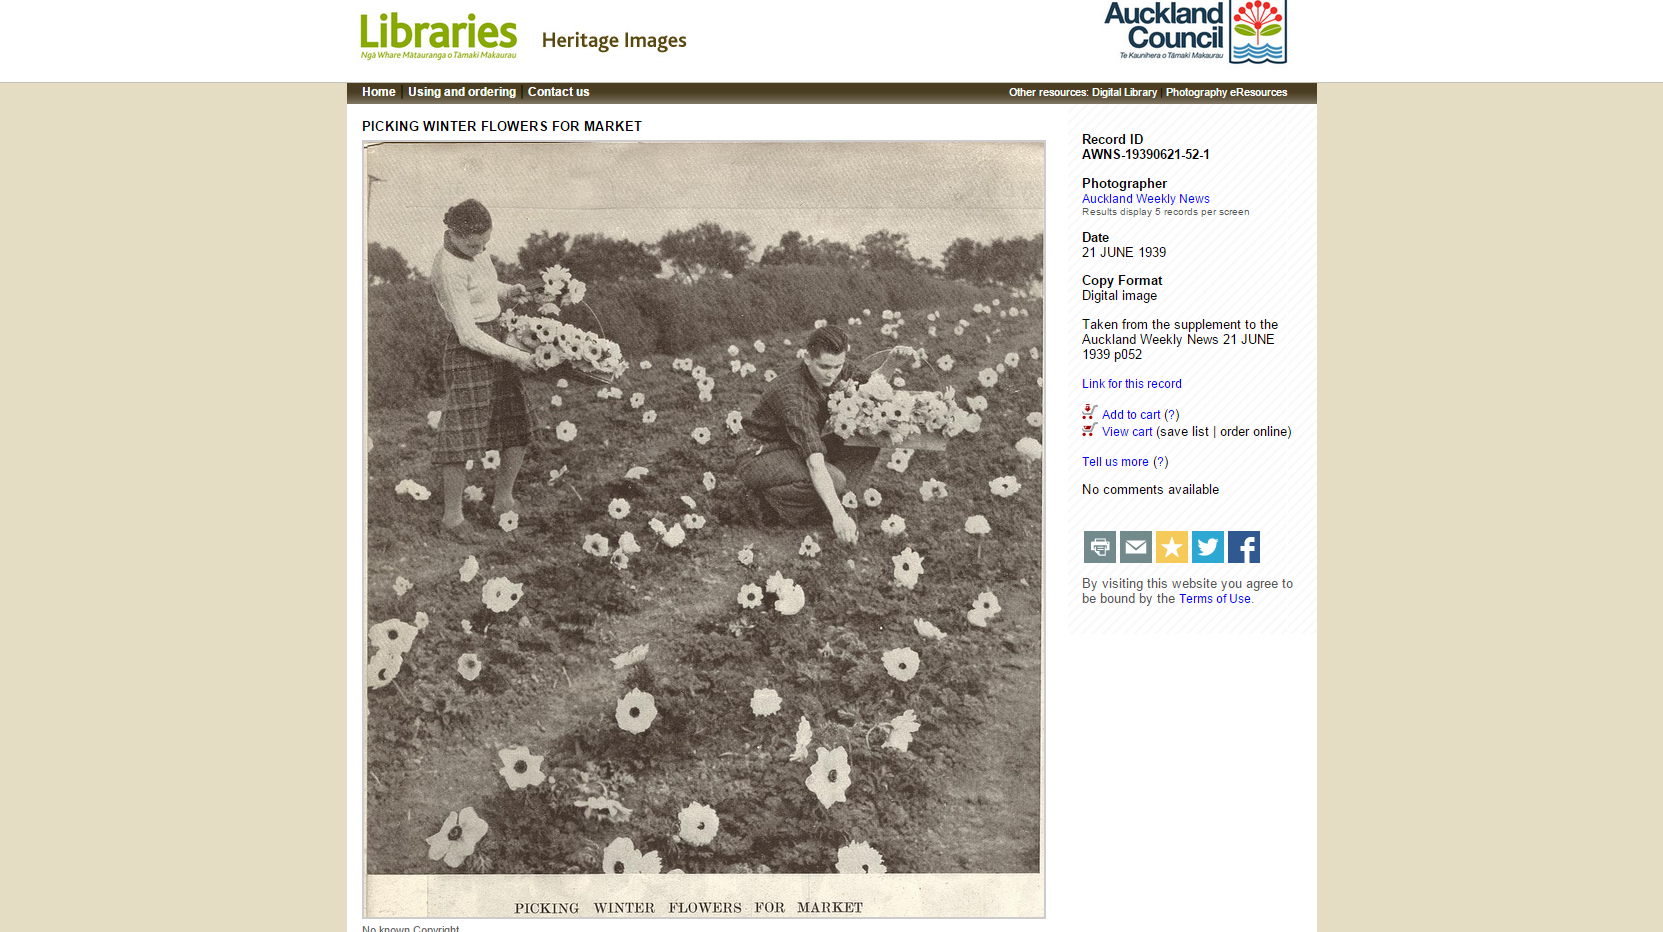
Take note of the licence information on this page, we can only use material which is:
‘no known copyright’,
has a Creative Commons license which allows for reuse,
or is in the public domain.
Create a folder on your desktop, titled for your GIF, and save this image inside.
3. EDIT YOUR IMAGE
We are going to use this free in-browser editor to edit our image: https://pixlr.com/editor/
NOTE: Step three is for one frame of our GIF. You will need to repeat step three several times to generate multiple frames.
Click ‘Open image from your computer’ and upload your Auckland Libraries image.
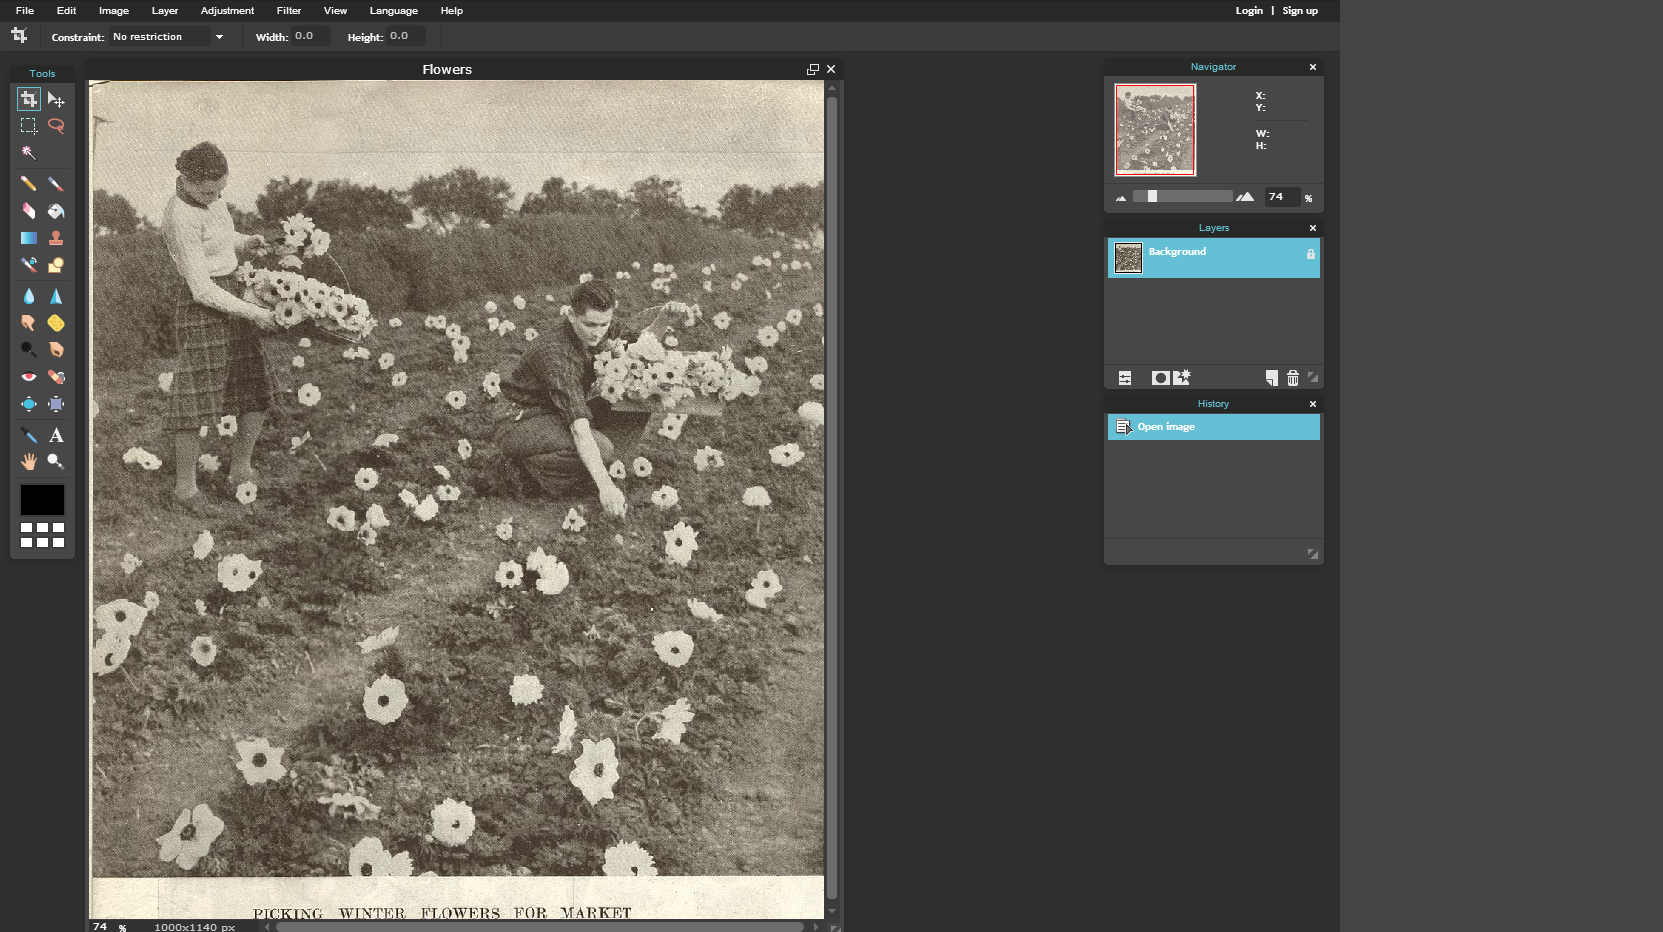
There are lots of options for editing your image depending on what you’d like your GIF to do. Our GIF is going to be made from a series of edited images, like a film strip, so think about how you’d like your GIF to flow.
We are going to do some simple colouring to make these flowers bloom.
In the sidebar, select the brush tool:

Then select the colour box to find a different colour:

The ‘WEB’ palette is an easy way to browse and select colours:
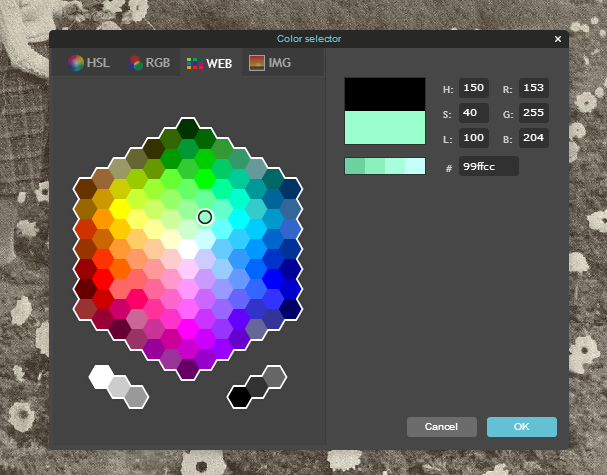
Change your brush size, shape, and opacity using the menu at the top. To exit the menu, click outside the menu, but not inside your image.
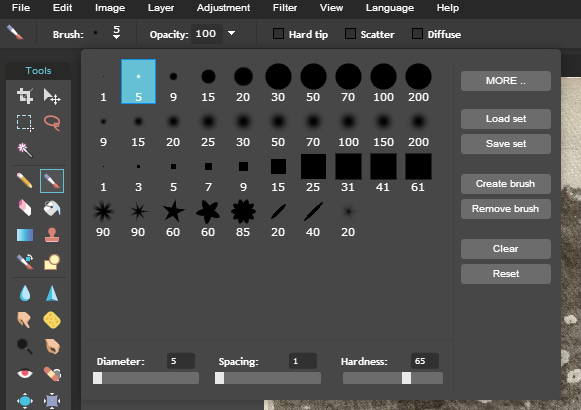
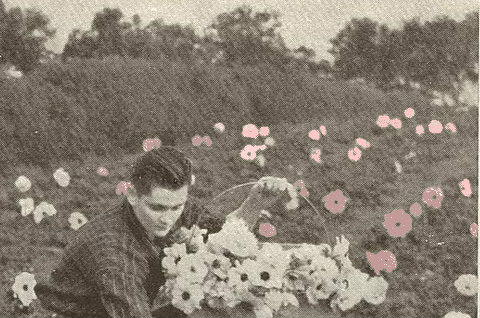
Use the scroll on your mouse to zoom in and start colouring. You can hold down the space bar on your keyboard to move around on the zoomed-in view. Colour as many flowers as you like for the first frame. Remember, we need to make a series of frames, so if you colour the flowers all at once, your GIF will be made of two frames, with all the flowers blooming at once, rather than appearing sequentially.
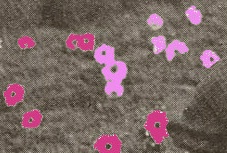
If you make a mistake, use CRTL+Z to undo.
You can also use the magic wand tool:
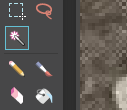
To select an object:
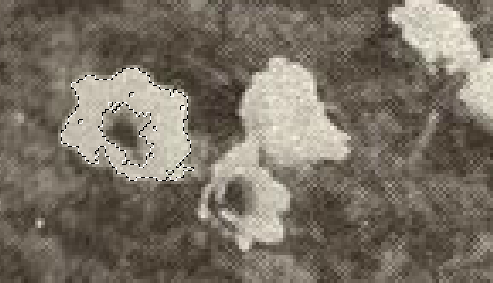
You can hold down the SHFT key to multi-select areas, then fill them with colour using the paint bucket tool:
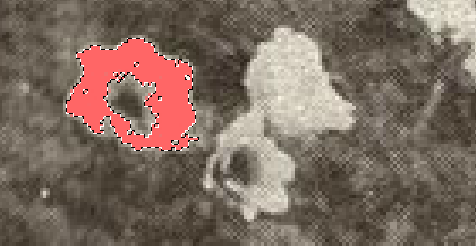
To deselect use CTRL+D.
4. SAVING YOUR IMAGES
Once we’ve coloured in a couple of flowers, we are going to save this image as one frame of our GIF. Make sure your image is about 100 KB.
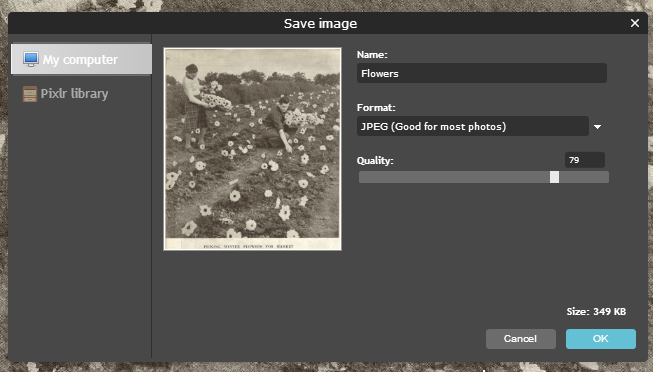
Save your image in a folder, and put a number after the file name, such as “Flowers2”. You’ll need to make sure you name your records in sequential order, so you know which order to upload them to the GIF maker.
Repeat this process with different colours, remembering to save a new file at regular intervals. Now that I’ve coloured several sections, I’m going to save my file as ‘Flowers3’, and so on.
5. ANIMATE YOUR GIF
When you have a whole sequence of coloured files, we’re ready to experiment, and make our GIF. Go to: http://ezgif.com/maker
Click ‘Choose files’. Find the folder with all your files, and, holding down CTRL to select all the files to upload. If the files are numbered sequentially they should upload in the correct order.
You can change the delay time across all the images, or you can have the delay longer between selected images:
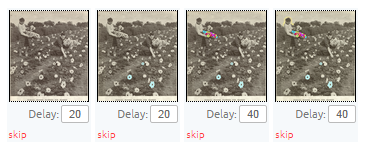
Click ‘Animate it’ to see what your GIF looks like.
Voila! Here is your animated GIF:
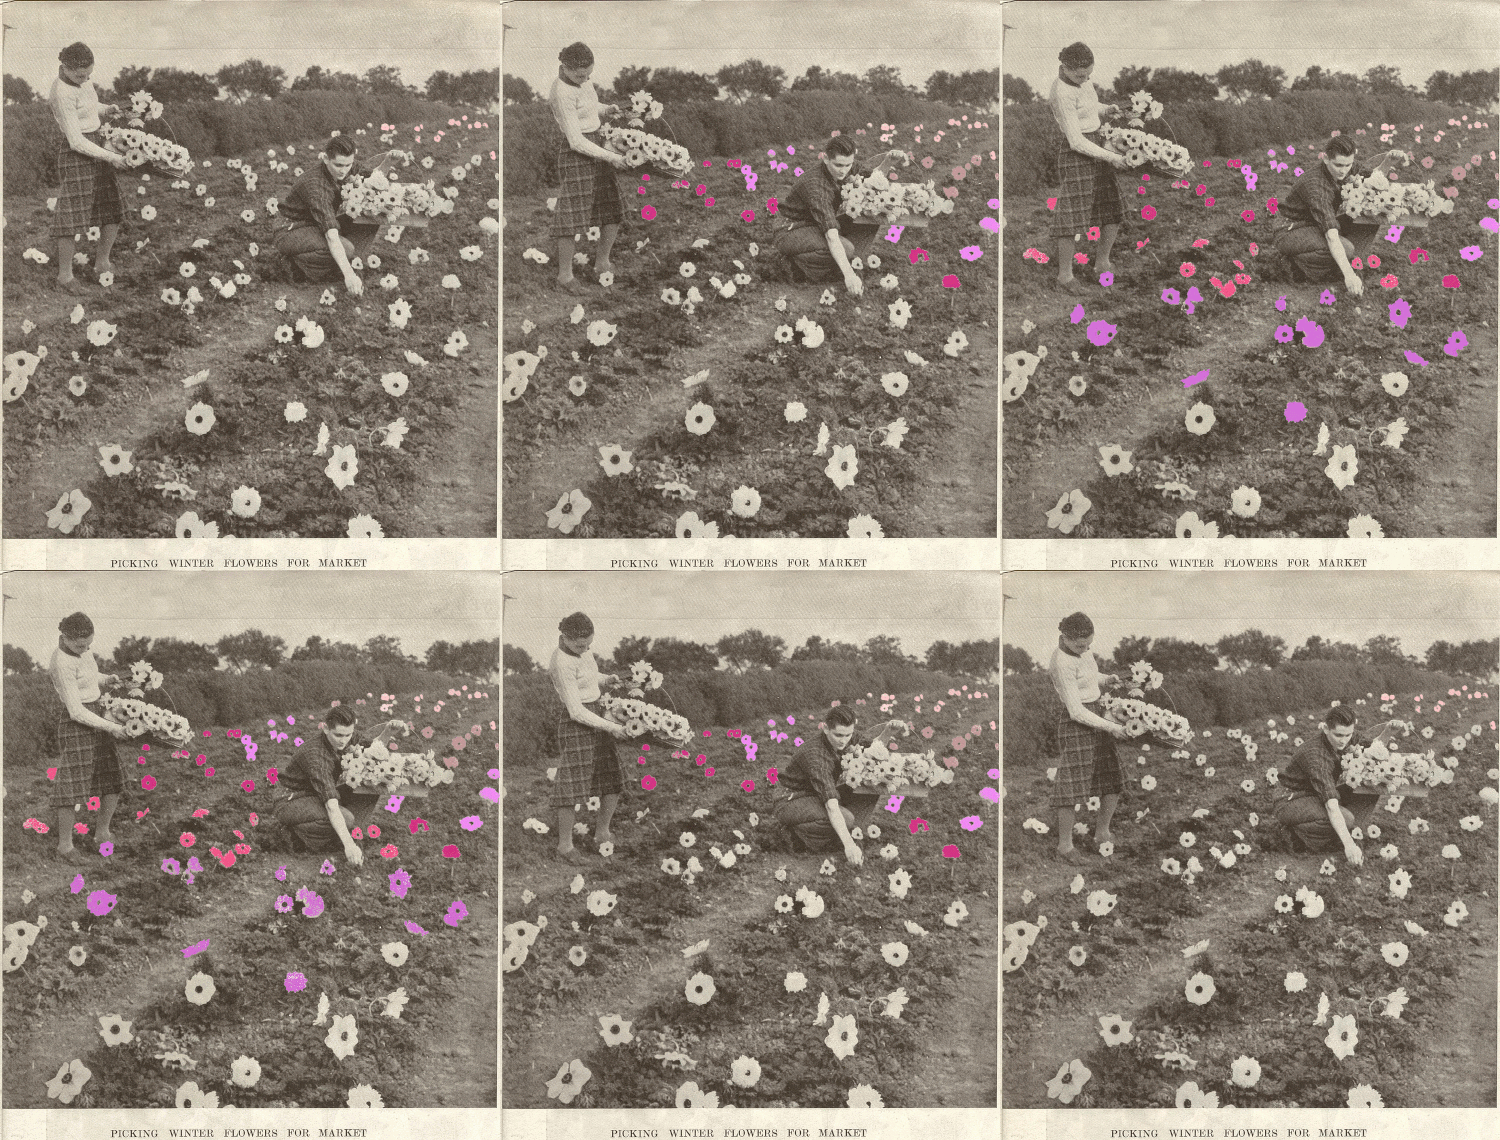
You’ll see there are various editing options underneath the image. You can click the @ symbol to save your GIF to your computer.
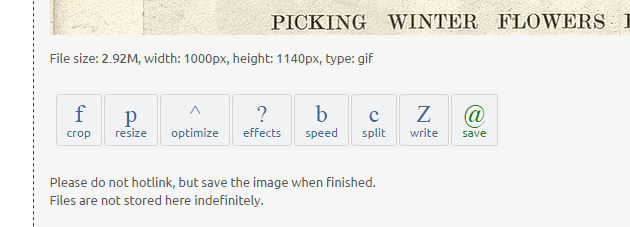
TIP: When re-posting or sharing our GIF we must include the correct attribution of the source material to Auckland Libraries. This can be easily copied and pasted from underneath the image:
Sir George Grey Special Collections, Auckland Libraries, AWNS-19390621-52-1. No known copyright.
6. EXPERIMENT WITH FILTERS AND OTHER TOOLS
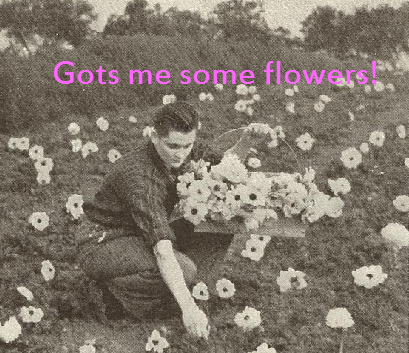
Once you’ve got the basics down, you can experiment with different brushes and tools in Pixlr to add to you’re a GIF. For example, make the people say something with the text tool:
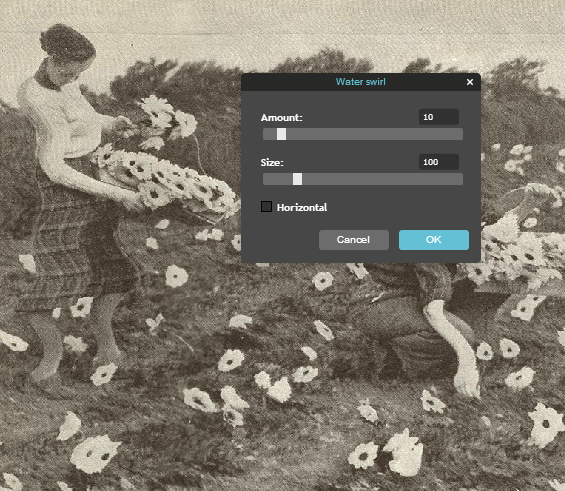
Play with some of the options under ‘Filter’ and ‘Adjustment’:
Use the lasso tool to identify a component of your image, copy and paste, and make a flashing flower sky:

Comments
Comments have been closed for this post
Awesome tutorial Thomasin; well explained and a clear process to follow - I'm excited to give it a go!
--Sue Kini • 2016-06-03 00:00:00 UTC
Lets start!
--its a well explained process to gif it up! • 2016-06-03 00:00:00 UTC
We've turned off comments here, but we'd still love to know your thoughts. Visit us on our Facebook Page @digitalnz or on Twitter @DigitalNZ to share any ideas or musings with the DigitalNZ team.